



Balanced Body Garage: How to Know When to Replace Springs in Three Simple Steps
Since the springs in Pilates equipment are an integral part of the method you teach your clients, it is absolutely essential to ensure that they are safe. But how exactly do you determine if a spring is safe? Here’s a simple guide wrapped up in three steps that will ensure safety in the studio for you and your clients.
Step One: Create a Plan
Schedule a convenient time each month for a quick walkthrough of the studio. I have been to many studios that know what to do, but in reality, they don’t do it because they haven’t scheduled inspections within the month, so other priorities consistently push checking the equipment down the to-do list.
The best plan is one that you will actually execute, so find a method that works best in your studio. You can do it yourself, delegate it to your manager, or assign an instructor to take on the extra responsibility.
I have visited several creative studios where each instructor was assigned one or two pieces of equipment, and they are responsible for all maintenance of those items, not just checking the springs. Others, busy studios, exchanged Pilates lessons for two or three hours of monthly maintenance work with a trusted client. Regardless of the method you choose, make sure that the established plan is something you can easily and regularly carry out.
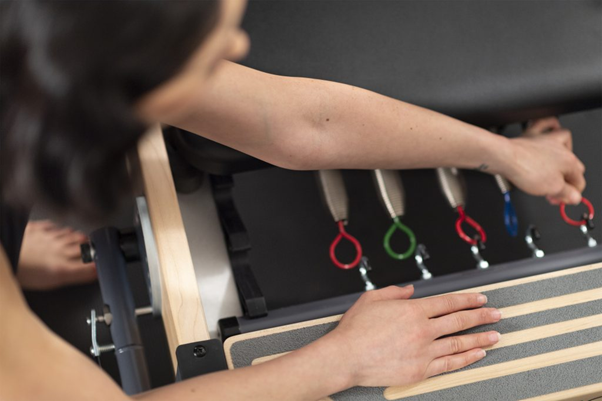
Step Two: Record What You See and Do
Using a maintenance log to track monthly inspections will make your life much easier, not only regarding the condition of the springs but also for other maintenance tasks. Your log can be based on the schedule included with the instructions for Balanced Body equipment. You can keep it in a regular lined notebook or an Excel sheet on your computer. Not all springs will be replaced at the same time, so you may have springs of different ages on different pieces of equipment.
In my log, I usually have a page where I note the date and my initials each time I conduct an inspection. Then, I have one additional page for each piece of equipment where I record the serial number, purchase date, and any relevant observations, improvements, part replacements, or springs for that device.
Step Three: Check the Springs
During the inspection of the springs, look for things that do not appear uniform. This may include:
- A gap in the coils at rest
- A wave in the coils
- A bend or shift in the coils
- Rust or other significant discolorations
- Coils that do not open evenly when stretched
The following images show a few examples I have encountered during my travels:
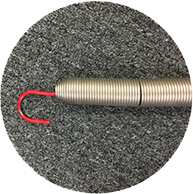
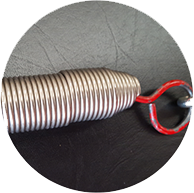
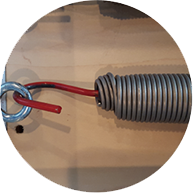
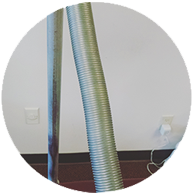
To find such anomalies, make sure you check the ENTIRE spring. One of these examples was hidden under the reformer platform, so no one noticed it until I looked underneath. When you see something that doesn’t look normal, immediately stop using the spring. It could break!
If you find any suspicious springs that you are unsure about, send a photo to serwis@bbpl.local along with a description of the situation, and you will receive assistance from our technical support.
Remember that regularly conducted equipment reviews and maintenance will help you avoid such situations.
Happy reforming!
The text is a translation of the article https://blog.fitreformer.com/replace-springs/

I have a degree in mechanical engineering and am an entrepreneur and certified Pilates instructor. My Pilates journey began at Balanced Body in 2014. I currently run The Fit Reformer, a company specializing in Pilates equipment servicing, and since 2020, I have launched a startup, Flexia, bringing innovation to the Pilates world. I also teach Pilates in Sacramento and travel the country on various Pilates-related projects.